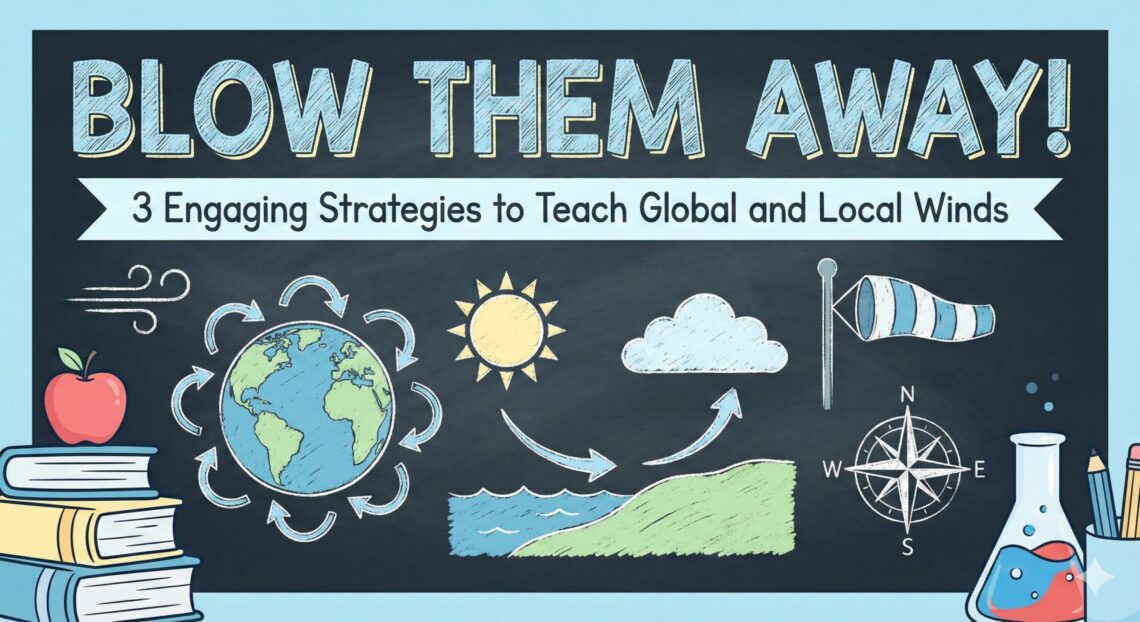
Blow Them Away! 3 Engaging Strategies to Teach Global and Local Winds
Global and local winds are one of those weather topics that can get abstract fast. Students understand wind when it messes up their hair at recess. But Trade Winds, Westerlies, Polar Easterlies, land breezes, sea breezes, and the Coriolis Effect? That is a lot.
My biggest goal is to connect the big global patterns to something students can actually picture. Wind is caused by unequal heating, pressure differences, and moving air. That sounds simple, but students need visuals and repetition before it sticks.
Here are three ways I like to teach global and local winds without turning the lesson into a vocabulary marathon.
1. Start with a convection current demo
Before students can really understand wind, they need to understand convection. A clear container of water, warm water or a heat source, ice, and food coloring can do a lot of heavy lifting here.
Add red food coloring near the warmer side and blue food coloring near the colder side. Students can watch the warm water rise and the cooler water sink. It is such a helpful visual for the movement that creates wind.
After the demo, I have students sketch what they saw and label warm rising air and cool sinking air. Drawing it helps. Having students crawl back into their memory right after the demo is so necessary.
2. Make a winds of the world labeling challenge
Once students understand why air moves, I like to tackle where it moves. A giant map or projected map works great for this.
Give groups labels and arrows for the Equator, poles, Trade Winds, Westerlies, Polar Easterlies, land breeze, and sea breeze. Their job is to place the labels and arrows correctly, then explain their choices.
This turns a diagram into a puzzle. Students talk, argue a little, move the arrows, and check their thinking. That is much better than silently copying a labeled map they may never look at again.
3. Use a Global & Local Winds gallery walk
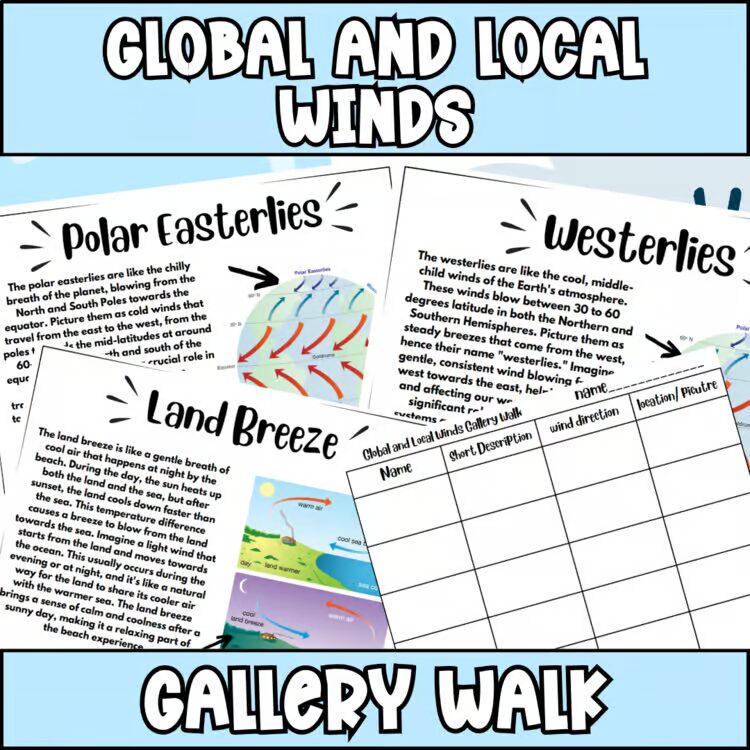
This Global & Local Winds Gallery Walk is my favorite way to tie everything together. It gets students moving, reading, and writing while they learn the main wind patterns.
Students rotate through stations on Polar Easterlies, Westerlies, Trade Winds, sea breeze, and land breeze. Each station has a short reading and a diagram so they can connect the words to a visual.
I like that the recording sheet asks for the wind’s name, description, direction, and location. It keeps students accountable without making the lesson feel overly complicated. I can also walk around and help students who are mixing up global winds and local winds.
You can grab the Global & Local Winds Gallery Walk activity here.
Make invisible wind patterns visible
Students do better with wind when they can see a model, move pieces around, and then read the details in smaller chunks. A convection demo gives them the why. A map challenge gives them the where. A gallery walk helps them put the vocabulary together.
Great weather lessons have variety. Get them looking. Get them moving. Get them reading. Then get them writing about what they learned.
Ready-to-use classroom resource
Want this classroom resource ready to print?
Save planning time with a classroom-ready activity built for upper elementary and middle school teachers.
You can extend this weather unit with air masses and fronts activities or severe weather lessons.

