Fun Ways to Teach Weathering and Erosion in Science
Teaching weathering and erosion can be really fun, but it can also be one of those science topics that students mix up quickly. They hear words like mechanical weathering, chemical weathering, and erosion, and before long everything starts to blur together.
If you want this unit to stick, it helps to teach it in several different ways. A mix of visuals, movement, discussion, and hands-on thinking can make these concepts much easier for students to understand. Here are a few of my favorite ways to teach weathering and erosion in upper elementary and middle school science.
1. Start with real-world examples students already know
Before diving into definitions, I like to begin with examples students can picture right away. Show them a cracked sidewalk, a smooth river rock, a canyon wall, or roots pushing into concrete. Those examples give students something concrete to connect to before the vocabulary shows up.
When students can see that rocks change over time in the real world, weathering and erosion stop feeling like abstract textbook terms. They start to notice that Earth is always changing, even if those changes happen slowly.
2. Teach weathering types with clear side-by-side comparisons
One of the biggest sticking points is helping students understand the difference between mechanical weathering and chemical weathering. I like to put those ideas side by side and keep the language simple.
- Mechanical weathering breaks rock into smaller pieces.
- Chemical weathering changes the rock through chemical reactions.
Once students hear that comparison several times and see examples of each, the topic becomes much less intimidating. Anchor charts, photos, and quick examples go a long way here.
3. Use movement and reading with a gallery walk
This is one of my favorite ways to teach weathering because it gets students up, reading, thinking, and writing at the same time. Instead of sitting through one long explanation, students work through the content in smaller chunks as they rotate from station to station.
One resource that works really well for this is my Types of Weathering Gallery Walk | Mechanical & Chemical Reading Stations. It gives students a chance to interact with the topic through short readings and response work while keeping them engaged and moving.
That gallery walk format is especially helpful for students who need the content broken down into manageable pieces. It also gives you a natural way to circulate, ask questions, and clear up misconceptions as students work.
4. Help students connect weathering to erosion
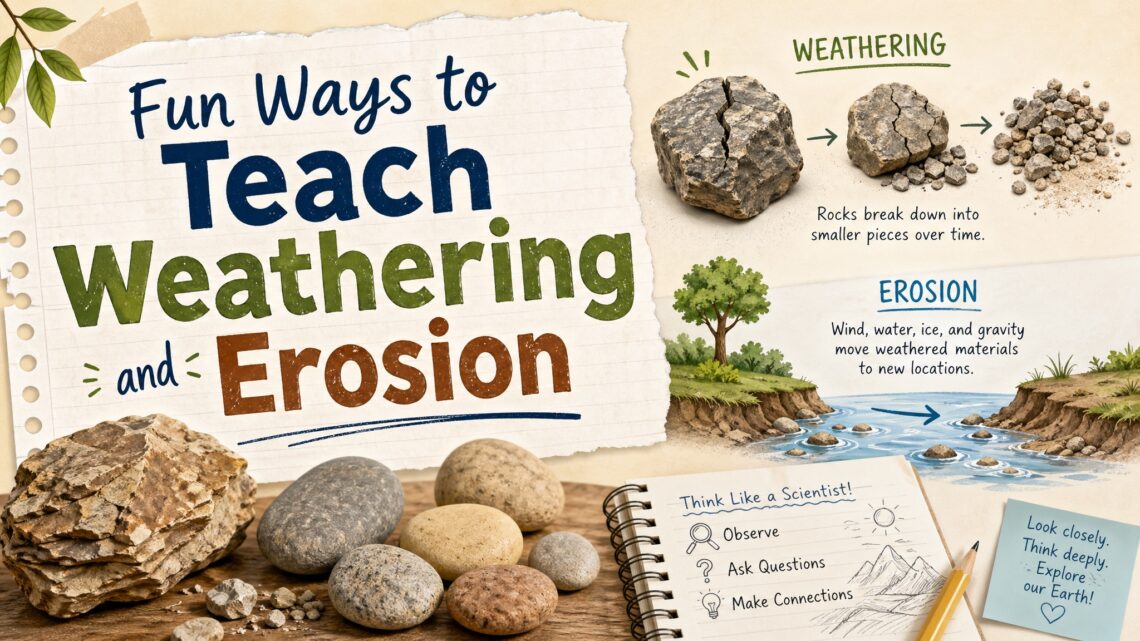
After students understand that weathering breaks rock down, the next step is helping them see what erosion does. I like to explain it this way: weathering breaks it, and erosion moves it.
That quick distinction helps students keep the ideas separate. You can reinforce it with a simple sort, a T-chart, or a few practice scenarios where students decide whether an example shows weathering, erosion, or both.
5. End with a quick explanation task
One of the best ways to check understanding is to have students explain the science in their own words. A short exit ticket, partner discussion, or notebook response can tell you a lot about what they actually understand.
Try prompts like these:
- What is the difference between mechanical and chemical weathering?
- How are weathering and erosion connected?
- What real-world example of weathering have you seen before?
Final thoughts
If you are looking for fun ways to teach weathering and erosion, variety really helps. Students usually understand this topic better when they can see it, talk about it, move through it, and compare examples in more than one format.

If you want a ready-to-use activity that gets students moving while reinforcing the difference between mechanical and chemical weathering, check out my Types of Weathering Gallery Walk.
Happy teaching!

