Unwrapping Ancient Egypt: 3 Engaging Activities to Teach the Mummification Process
Mummification is one of those Ancient Egypt topics where you do not have to work very hard to get attention. Say “they removed the brain through the nose,” and suddenly everyone is listening.
The tricky part is moving past the gross factor. Students remember the weird details, but I also want them to understand the belief system behind the process. For Ancient Egyptians, mummification was connected to the afterlife, religion, preservation, and respect for the body.
Here are three mummification process activities that keep the lesson interesting while still teaching the why behind the ritual.
1. Try the classic apple mummification experiment
If you have a few days to let an experiment sit, apple mummification is always worth it. It gives students a simple way to see how drying and preserving worked.
Cut an apple into slices and place the pieces in different cups. Keep one as the control, then cover the others with salt, baking soda, or a salt and baking soda mixture to represent natron.
When students check the apples later, they can compare which slice changed the most and which one was preserved best. It is a nice science connection, and it helps the word natron become more than just another vocabulary term.
2. Design canopic jars
Canopic jars are a great way to talk about the religious side of mummification. Students learn that specific organs were preserved and protected by the four sons of Horus.
After learning the basics, I like giving students a creative challenge: design a modern canopic jar for something valuable they would want protected. Not an organ, obviously. Something meaningful.
They have to decide what would go inside, what the guardian on the lid would look like, and why that object deserves protection. It is a small creative twist, but it helps students connect the idea of preservation to their own lives.
3. Walk through the mummification steps
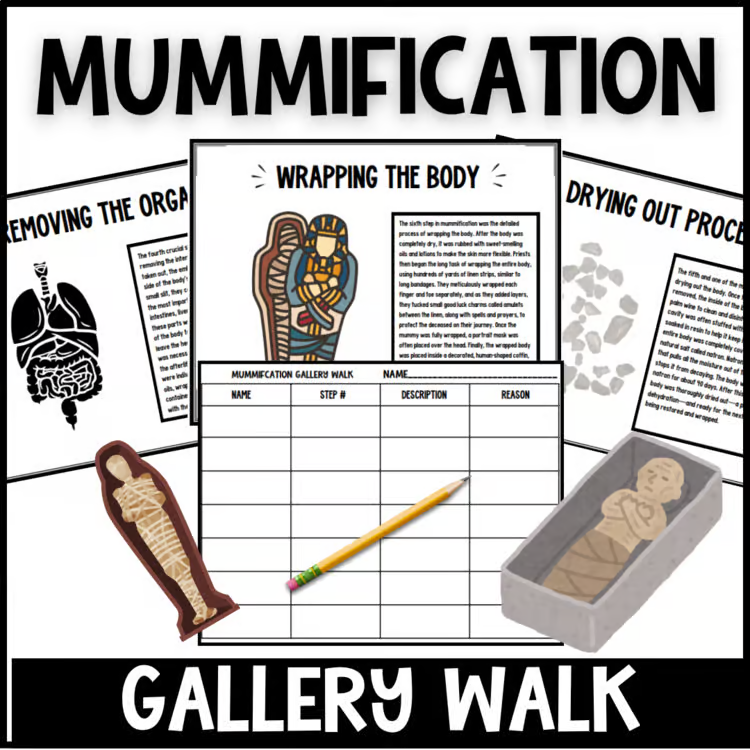
The actual mummification process has a lot of steps, and students can lose the sequence if we just talk through it once. That is why I like using this Ancient Egypt Mummification Process Gallery Walk.
Students move through 7 stations that break down the process from the announcement of death to the Opening of the Mouth ceremony. The stations include key vocabulary like natron, resin, canopic jars, and wrapping, but each step is in a chunk students can actually handle.
I’m biased because I created it, but I like that it turns the lesson into more of a museum walk. Students read, record, and put the steps together instead of just listening to me explain a 70-day process from the front of the room.
You can grab the Mummification Process Gallery Walk here.
Bring the afterlife to life
Mummification was not just a strange Ancient Egypt practice. It was tied to what Egyptians believed about life, death, and eternity. That is the part I want students to walk away understanding.
Use the gross details as the hook, but give students chances to experiment, create, read, and explain. That variety is what helps the mummification process stick.
Ready-to-use classroom resource
Want this social studies resource ready to print?
Save planning time with a classroom-ready activity built for upper elementary and middle school teachers.
This lesson fits naturally with broader Ancient Egypt teaching strategies and Ancient Civilizations GRAPES activities.

