Bill of Rights Gallery Walk Activity for Upper Elementary Civics
Bill of Rights lessons can get abstract fast. Students may memorize that the First Amendment protects speech or that the Fourth Amendment has something to do with searches, but actually explaining what those rights mean is a different thing.
That is why I like using a Bill of Rights gallery walk when we get into the first 10 amendments. It gets students out of their seats, gives them short chunks of reading, and makes them connect each amendment to real examples instead of only copying definitions.
Start with the rights students already kind of know
Before I send students into stations, I like doing a quick warm-up with the rights they have heard before. Freedom of speech, freedom of religion, the right to bear arms, and the right to a jury trial usually bring out some prior knowledge.
It does not need to be fancy. A simple “Which amendment have you heard of before?” or “Where have you seen this right show up in real life?” gets the conversation moving. It also helps you spot misconceptions before students start reading independently.
Use short reading stations instead of one long passage
The Bill of Rights has a lot of vocabulary packed into a small space. Warrants, due process, cruel and unusual punishment, self-incrimination — it is a lot for upper elementary and middle school students to hold at once.
A gallery walk breaks that down in a way that feels much more doable. Each station can focus on one amendment, what right it protects, and a quick example of what it looks like in action. Students are still reading, but they are reading with a purpose.
Make students explain the amendment in normal language
My favorite part of a Bill of Rights activity is having students translate the amendment into student-friendly language. Not “copy the sentence from the station.” Actually explain it.
You can have them answer prompts like:
- What right does this amendment protect?
- What is one real-life example?
- Why might this right matter to citizens?
- What could happen if this right did not exist?
Those questions make the activity more than a matching exercise. Students have to read, think, and put the amendment into their own words.
Add movement, but keep the accountability simple
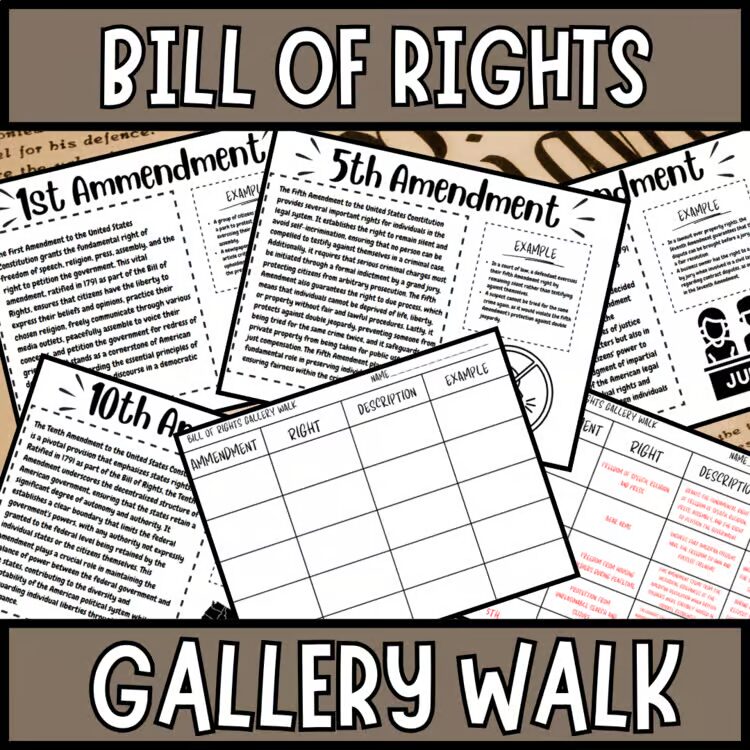
I am biased toward gallery walks because they give students movement without turning the room into chaos. The trick is keeping the task clear. Students move from station to station, read the short passage, and record the amendment number, protected right, meaning, and example.
If you want a ready-to-use version, I created this Bill of Rights Gallery Walk reading stations activity for grades 4–8. Each station focuses on one of the first 10 amendments with a short reading passage, clear examples, and a student answer sheet.
I like it for a Constitution unit, civics review, or any day when students need to get reading, moving, and writing instead of sitting through another set of notes.
Wrap up with a quick rights reflection
After the stations, I would not overcomplicate the closing. A quick exit ticket works really well:
- Which amendment do you think affects your daily life the most?
- Which right was easiest to understand?
- Which amendment would you want to learn more about?
Those questions help students pull the Bill of Rights back into the real world. And honestly, that is the goal. Not just naming the amendments, but understanding why these rights matter.
If you are teaching the first 10 amendments soon, a gallery walk is a simple way to make the lesson feel more active, more readable, and a little less overwhelming for everyone.
Grab free no-prep science & social studies resources
Get instant access to review templates, vocabulary posters, gallery walk samples, quick-check activities, and hands-on practice ideas for upper elementary and middle school.

