4 Easy Ways to Teach Ocean Currents in Middle School Science
Ocean currents can be one of those middle school science topics that feels abstract fast. Students hear words like gyres, upwelling, and thermohaline circulation, and suddenly the ocean starts sounding more like a vocabulary quiz than a living system. The good news? When you teach ocean currents with movement, visuals, and short chunks of reading, students can make sense of how water moves around the planet.
Here are four practical ways to teach ocean currents in a way that feels manageable for you and engaging for your students.
1. Start with a quick current-in-a-cup demo
Before students read anything, let them see movement. Use a clear container of room-temperature water, a small amount of colored warm water, and a small amount of colored cold water. Students can observe how temperature affects water movement and begin connecting that movement to density.
This quick demo gives students a concrete anchor before you introduce terms like density, convection, and thermohaline circulation. I like to keep the questions simple: What moved? Where did it move? Why do you think it moved that way?
2. Use maps to connect currents to real places
Ocean currents are easier to understand when students can connect them to actual locations. Show a world map with major surface currents and ask students to notice patterns. Which currents move toward the equator? Which move away from it? Where do large circular patterns show up?
This is a great time to introduce gyres, the Gulf Stream, and coastal upwelling. Students do not need to memorize every current on the map. They need to see that currents move heat, nutrients, and energy around the globe.
3. Teach ocean currents with a gallery walk
A gallery walk is one of my favorite ways to teach ocean currents because it gets students moving while still keeping the learning structured. Instead of reading one long passage at their desks, students rotate through short stations about key ocean current concepts.
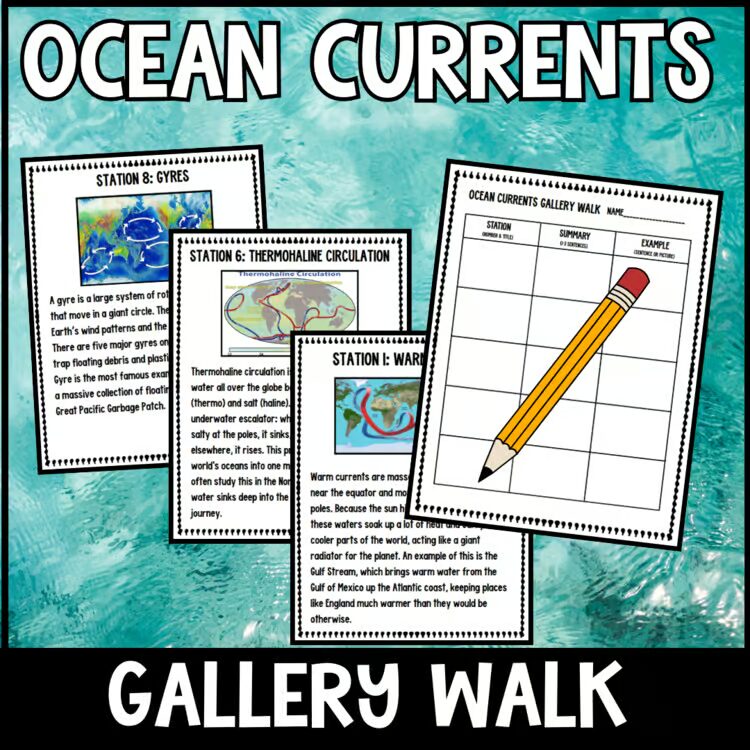
If you want a print-and-go option, this Ocean Currents Gallery Walk for middle school science includes 10 station cards, a student recording sheet, vocabulary cards, student directions, and an answer key. Students read a short station, summarize the main idea, and sketch or explain an example. It is a simple way to cover thermohaline circulation, gyres, upwelling, warm currents, cold currents, and more without turning the lesson into a lecture.
4. End with a cause-and-effect sort
After students have explored the concepts, bring everything back together with a cause-and-effect sort. Give students cards with causes like wind, density differences, temperature, salinity, and Earth’s rotation. Then give them effects like moving warm water, bringing nutrients to the surface, influencing climate, or creating circular gyres.
This helps students move beyond definitions. They start explaining relationships, which is where the real understanding happens. You can have students work with partners first, then choose one cause-and-effect pair to explain in writing.
Keep ocean currents visual, active, and connected
The best way to teach ocean currents is to make the invisible visible. Use a demo so students can see water move, maps so they can connect currents to the real world, a gallery walk so they can process information in smaller chunks, and a sorting activity so they can explain cause and effect.
With the right structure, ocean currents become much more than vocabulary words. Students begin to see how water movement affects climate, marine life, nutrients, and the world around them.
Ready-to-use classroom resource
Want this science resource ready to print?
Save planning time with a classroom-ready activity built for upper elementary and middle school teachers.
View the resource
